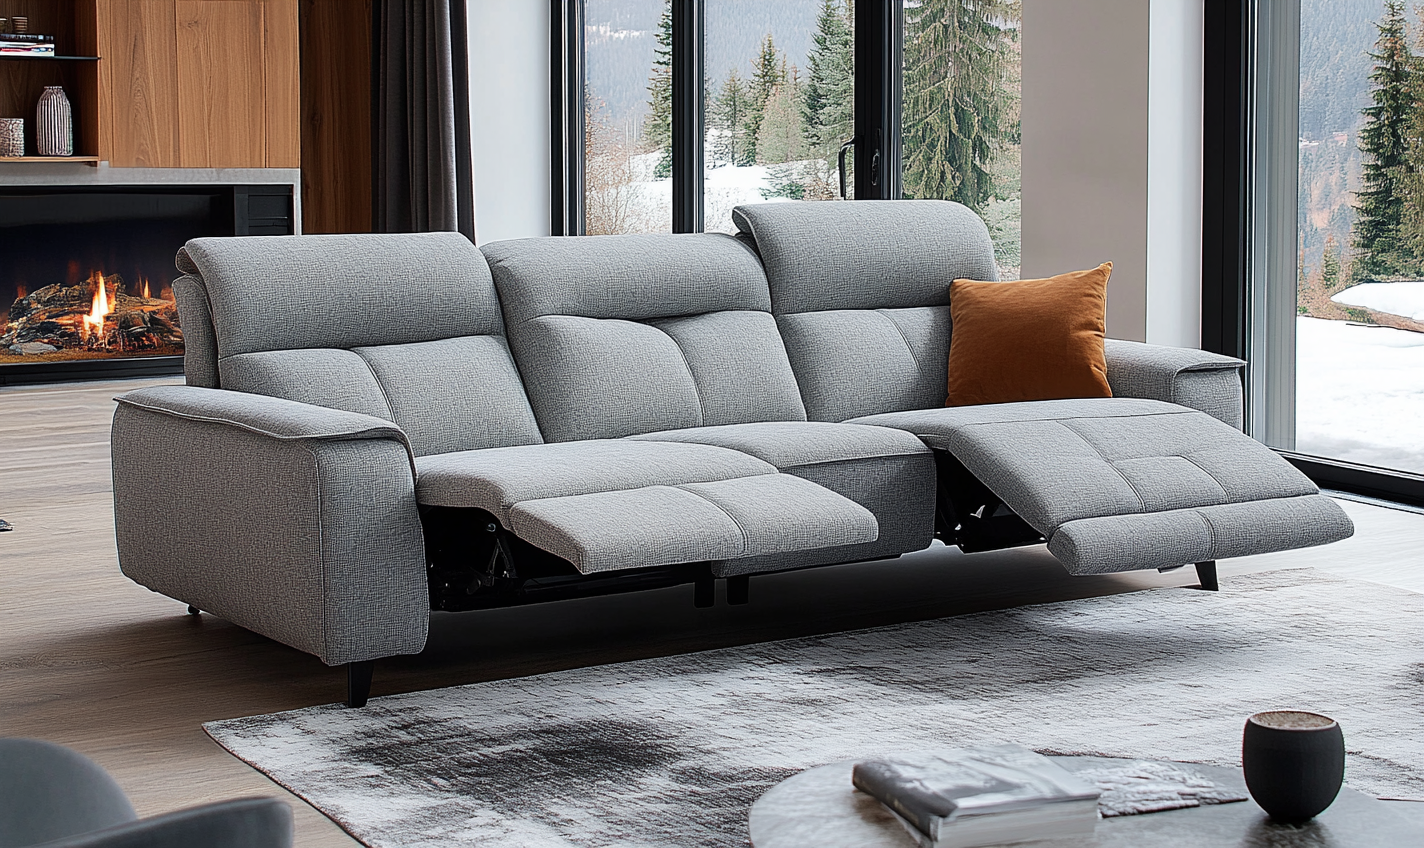
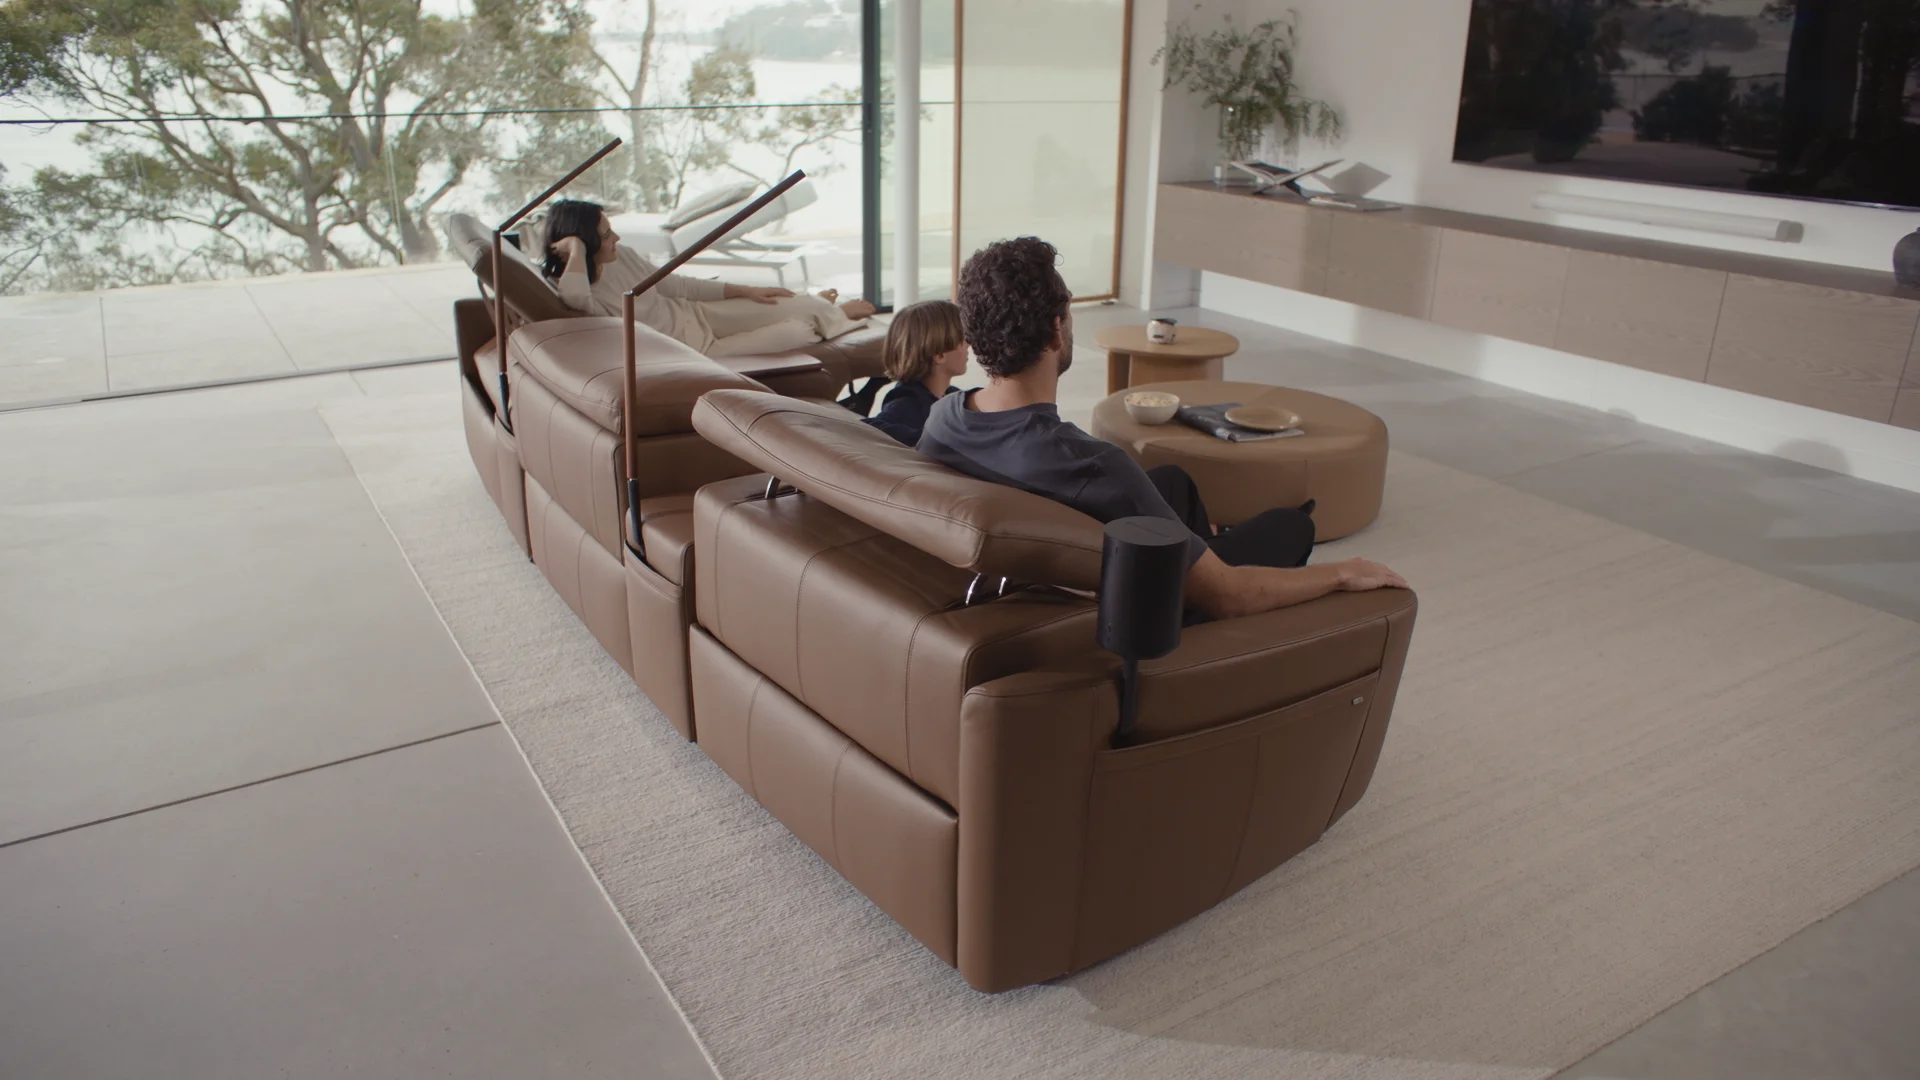
Choosing the right recliner sofa can significantly enhance the comfort and aesthetic of your living space, whether it be small or large. With a plethora of styles, sizes, and functionalities available, it’s essential to consider various factors to ensure that your selection meets both your practical needs and design preferences. This guide will explore the key aspects to consider when choosing the perfect recliner sofa, tailored for both compact and expansive environments.
Understanding Your Space
Before diving into the specifics of recliner sofas for small spaces, it’s crucial to assess your available space. Understanding the dimensions and layout of your room will help you make an informed decision.
Measuring Your Space
Begin by measuring the area where you intend to place the recliner sofa. Consider not only the width and depth but also the height of the room, especially if you have low ceilings or overhead fixtures. Use a tape measure to get accurate dimensions and note any architectural features, such as windows or doors, that may affect placement.
Once you have your measurements, create a simple floor plan. This can be done on paper or using digital tools. Visualising the space will help you determine how much room you have for a recliner sofa and whether a compact model or a larger sectional is more suitable.
Considering Traffic Flow
In addition to size, consider the flow of movement within the room. Ensure that there is enough space to walk around the recliner sofa without obstruction. A well-placed sofa should not impede access to other furniture or pathways. Aim for at least 30 inches of clearance around the sofa to allow for easy movement.
For smaller spaces, consider a recliner that can be positioned against a wall or in a corner to maximise floor space. In larger rooms, you may have the flexibility to create a more open layout, allowing for multiple seating arrangements.

Choosing the Right Size
Recliner sofas come in various sizes, from compact two-seaters to expansive sectionals. Selecting the right size is vital to ensure comfort and functionality.
Compact Recliners for Small Spaces
If you have limited space, look for compact recliners that offer functionality without overwhelming the room. Loveseat recliners or single recliners can be excellent choices, providing the comfort of reclining without taking up too much floor area.
Consider models that feature a wall-hugging design, which allows the recliner to be placed closer to the wall while still fully reclining. This design is particularly beneficial in tight spaces where every inch counts.
Spacious Recliners for Large Areas
In larger spaces, you have the luxury of choosing more substantial recliner sofas. Sectional recliners are a popular option, as they can accommodate multiple people while providing ample reclining features. These sofas often come with additional features such as built-in storage or cup holders, enhancing their functionality.
When selecting a larger recliner sofa, ensure that it complements the scale of the room. A bulky sofa in a vast space can feel lost, while a sleek design can create a more cohesive look. Consider the overall style of your room to ensure the recliner fits seamlessly into the existing decor.
Material Matters
The material of your recliner sofa plays a significant role in both comfort and maintenance. Different fabrics and finishes offer various benefits, so it’s essential to choose wisely.
Fabric Options
Recliner sofas are available in a range of fabrics, including leather, microfiber, and upholstery. Leather is a popular choice for its durability and ease of cleaning, making it ideal for families or pet owners. However, it can be more expensive and may require regular conditioning to maintain its appearance.
Microfiber is another excellent option, known for its softness and resistance to stains. It is often more budget-friendly than leather and comes in various colours and patterns, allowing for greater design flexibility. Upholstered sofas can offer a wide array of textures and styles, but they may require more maintenance to keep them looking fresh. Read about type of fabrics at https://www.iiad.edu.in/the-circle/types-of-fabric-in-fashion-design/
Choosing the Right Colour and Pattern
The colour and pattern of your recliner sofa can significantly impact the overall aesthetic of your room. Neutral tones, such as beige, grey, or taupe, can create a calming atmosphere and allow for easy integration with existing decor. On the other hand, bold colours or patterns can serve as a statement piece, adding character and vibrancy to your space.
When selecting a colour, consider the existing colour palette of your room. If you have a lot of bold colours or patterns, a more subdued recliner may balance the space. Conversely, if your room is primarily neutral, a vibrant recliner can add a pop of colour and interest.
Functionality and Features
Recliner sofas come with various features that enhance their functionality. Understanding these options can help you choose a sofa that meets your specific needs.
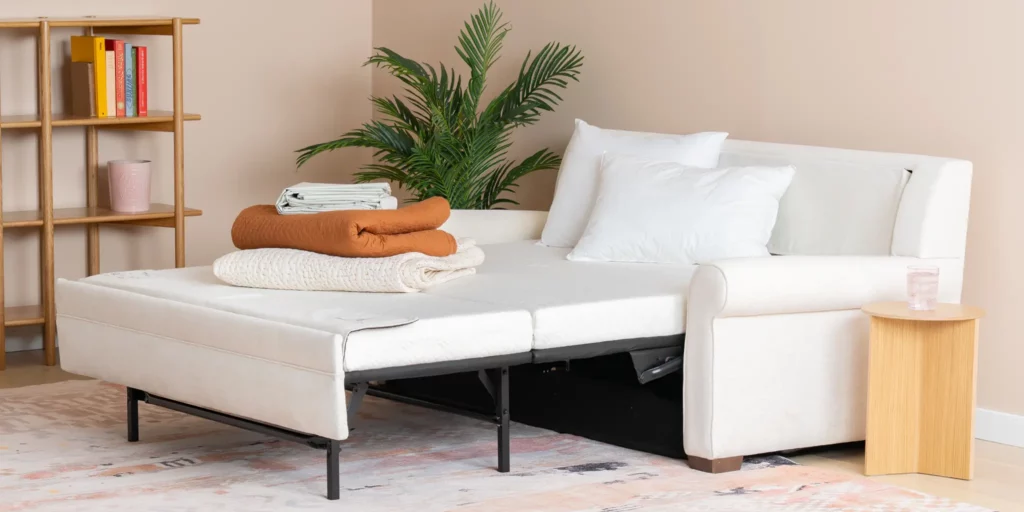
Manual vs. Electric Recliners
Recliners can be either manual or electric. Manual recliners typically use a lever or pull mechanism to recline, which can be more straightforward and less prone to malfunction. However, they may require more physical effort to operate.
Electric recliners, on the other hand, offer the convenience of a button-operated reclining mechanism. This feature is particularly beneficial for individuals with mobility issues, as it requires minimal effort to adjust the position. Some electric recliners even come with additional features, such as massage functions or heated seating, providing an extra layer of comfort.
Additional Features to Consider
When selecting a recliner sofa, consider additional features that may enhance your experience. Built-in storage compartments can be handy for keeping remote controls or magazines close at hand. Cup holders are another popular feature, particularly for those who enjoy entertaining or watching movies at home.
Some recliners also come with adjustable headrests or lumbar support, allowing for a customised seating experience. If you plan to spend extended periods in your recliner, these features can significantly enhance your comfort.
Budget Considerations
Setting a budget is an essential step in the process of choosing a recliner sofa. Prices can vary widely based on size, material, and features, so it’s crucial to determine how much you are willing to invest. Click here to learn about budget tips and guidelines.
Finding Quality Within Your Budget
While it may be tempting to opt for the cheapest option, investing in a quality recliner sofa can save you money in the long run. Higher-quality materials and construction often lead to greater durability and comfort. Look for brands with positive reviews and warranties that reflect their commitment to quality.
Consider shopping during sales events or exploring second-hand options to find quality recliners at a lower price point. Many retailers offer clearance sales, especially at the end of the season, providing an opportunity to snag a great deal.
Financing Options
If your budget is tight, many retailers offer financing options that allow you to pay for your recliner sofa over time. This can make it easier to invest in a higher-quality piece without straining your finances. Be sure to read the terms carefully to understand any interest rates or fees associated with financing.
Final Thoughts
Choosing the perfect recliner sofa requires careful consideration of various factors, including space, size, material, functionality, and budget. By taking the time to assess your needs and preferences, you can find a recliner that not only enhances your comfort but also complements your living space.
Whether you have a small nook to fill or a spacious living room to furnish, the right recliner sofa can transform your environment into a haven of relaxation and style. With the right approach, you will be well on your way to enjoying the ultimate in comfort and design.
Related : Best Recliner Sofas in Australia for Ultimate Comfort and Style
