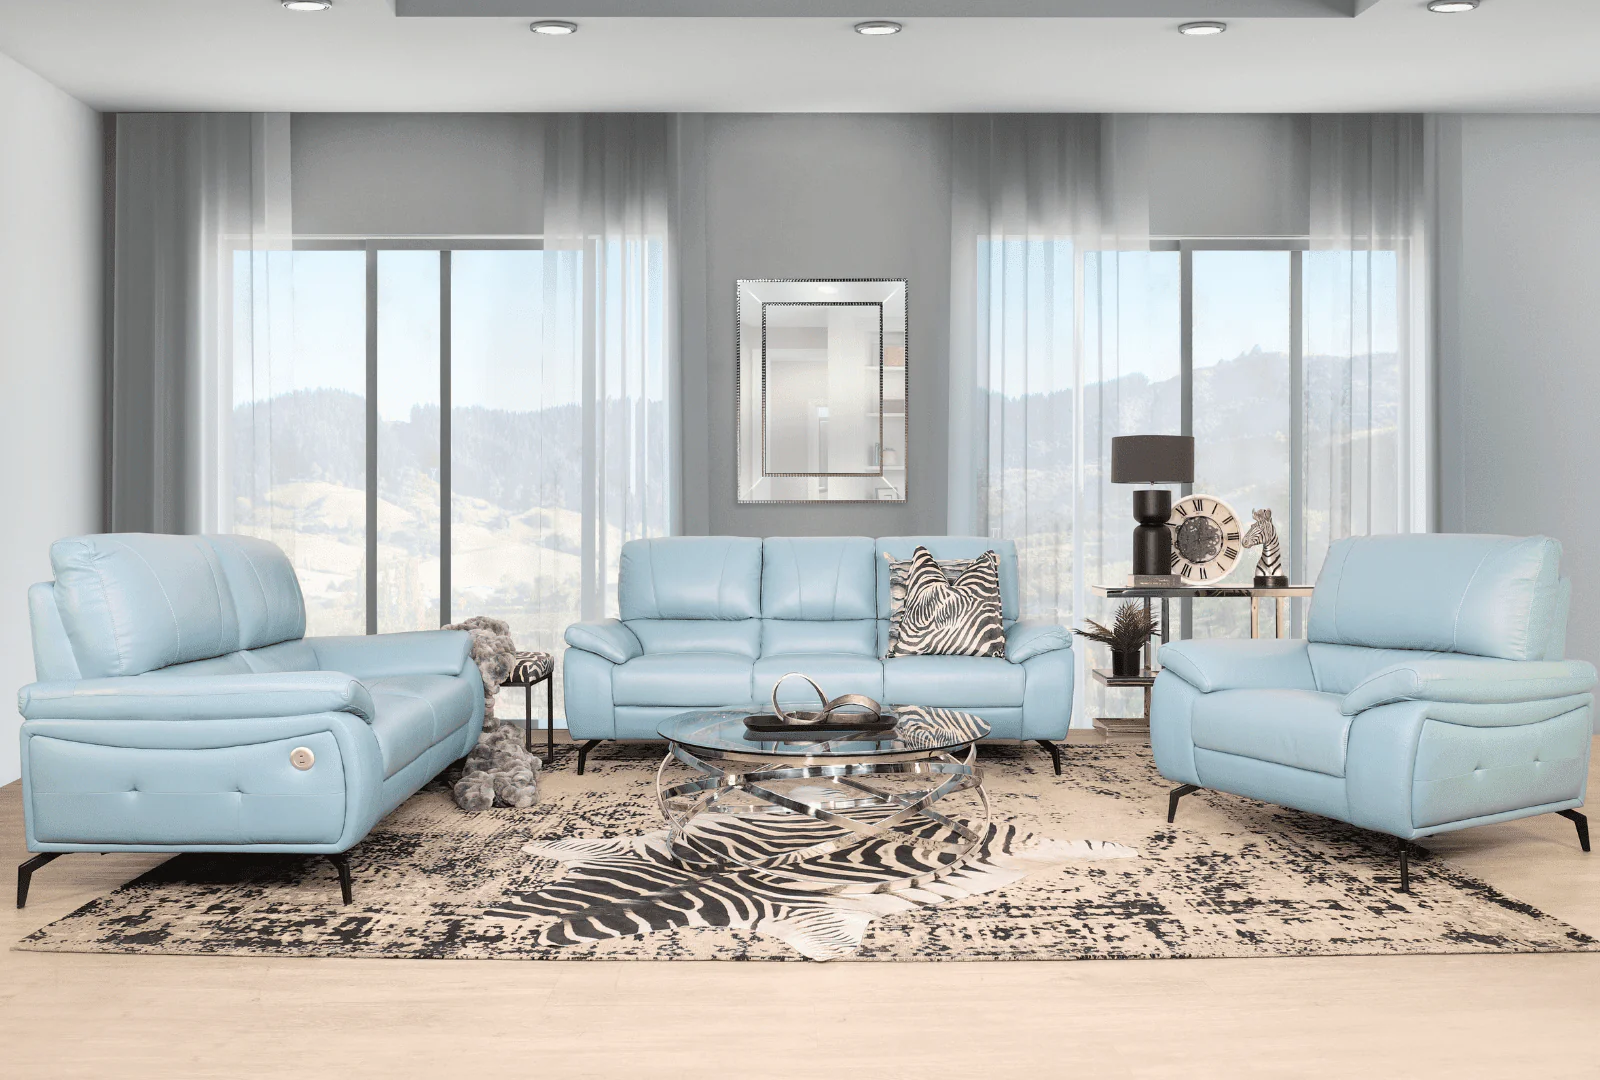
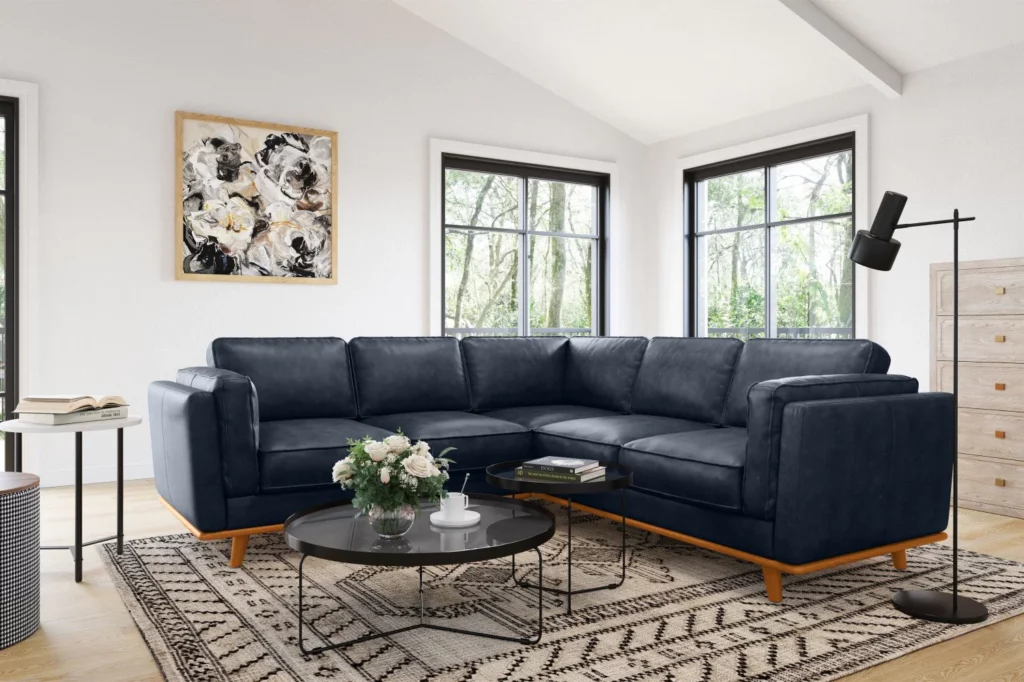
When it comes to furnishing a living room, the choice of sofa plays a pivotal role in defining the space’s overall aesthetic and functionality. Among the myriad of options available, leather corner sofas stand out as a classic choice that combines style, comfort, and durability. This article delves into the reasons why leather corner sofas are a timeless addition to any living room, exploring their benefits, design versatility, and enduring appeal.
Durability and Longevity
One of the most compelling reasons to opt for a leather corner sofa is its remarkable durability. Leather is a robust material that can withstand the rigours of daily use, making it an ideal choice for busy households. Unlike fabric sofas, which may wear out or become stained over time, leather can endure the test of time with proper care.
Resistant to Wear and Tear
Leather is inherently more resistant to wear and tear compared to other materials. It does not easily fray or tear, making it a practical choice for families with children or pets. Additionally, leather can be easily wiped clean, allowing for quick maintenance and keeping the sofa looking fresh and new.
Ageing Gracefully
Another unique aspect of leather is its ability to age gracefully. Over time, leather develops a rich patina that adds character and depth to the material. This natural ageing process means that rather than losing its appeal, a leather corner sofa can become even more attractive as the years go by, making it a wise investment for your living room.
Furthermore, the inherent properties of leather contribute to its longevity. Unlike synthetic materials that may degrade or discolour over time, high-quality leather is treated to resist fading and maintain its vibrancy. This quality ensures that your sofa remains a stunning focal point in your home, regardless of changing trends or styles. Moreover, the versatility of leather allows it to complement a wide range of interior designs, from contemporary to classic, enhancing the overall aesthetic of your living space.
Maintenance Made Easy
In addition to its durability, maintaining a leather corner sofa is refreshingly straightforward. Regular dusting and the occasional application of a leather conditioner can keep the material supple and prevent it from drying out. This simple routine not only prolongs the life of the sofa but also enhances its natural beauty, ensuring that it remains a cherished piece of furniture for years to come. With minimal effort, you can preserve the luxurious feel and appearance of your leather sofa, making it a practical choice for those who appreciate both style and substance. Read more about drying at https://extension.usu.edu/preserve-the-harvest/research/drying-methods
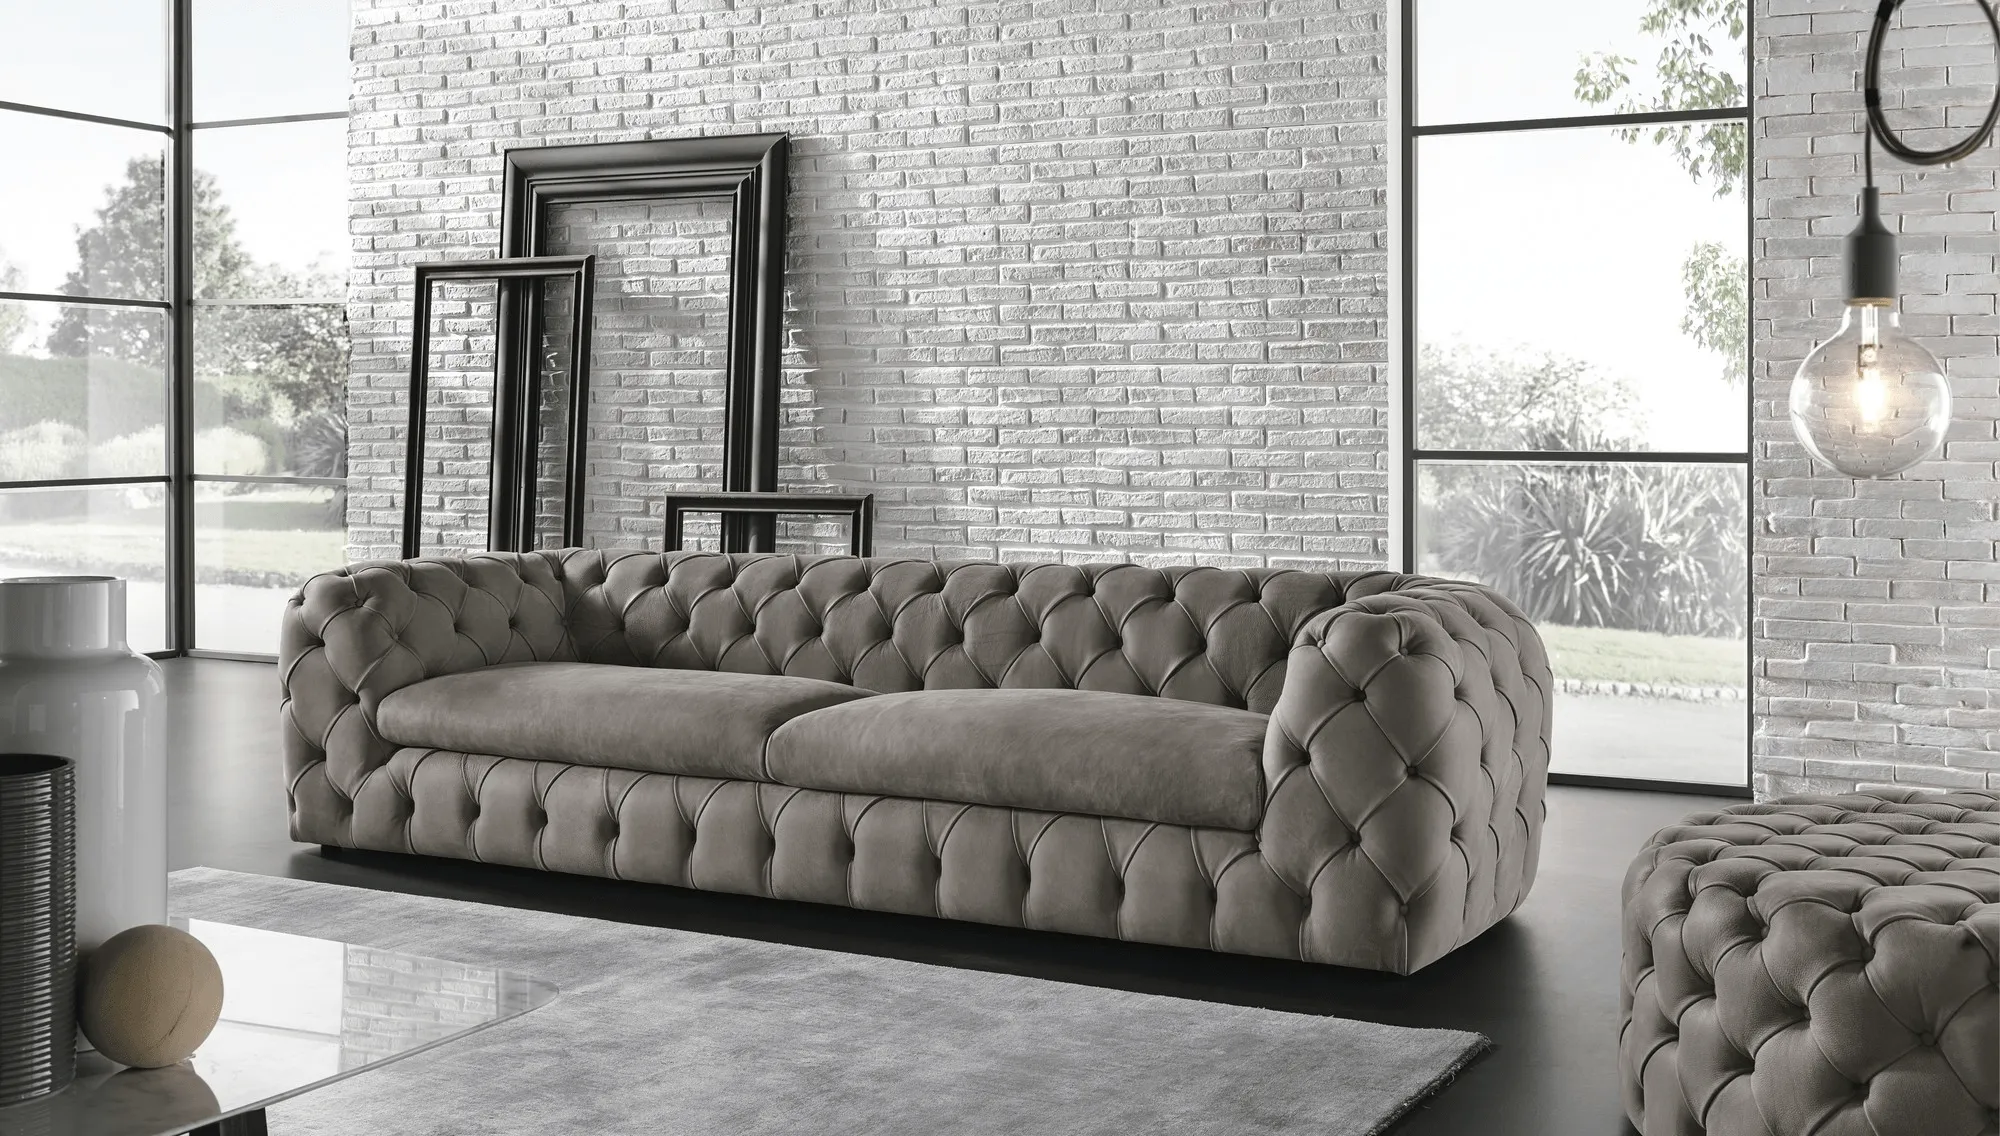
Style and Aesthetic Appeal
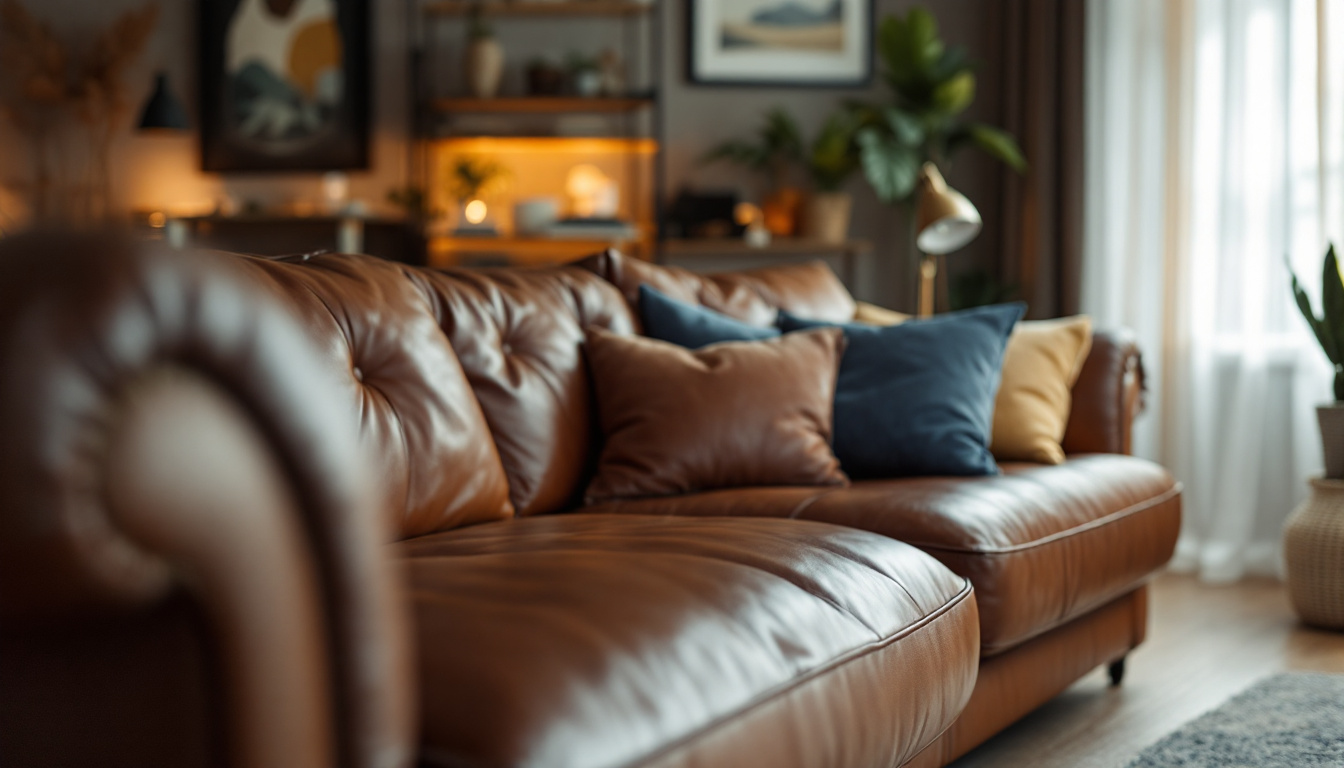
Leather corner sofas are synonymous with sophistication and elegance. They can seamlessly blend into various interior design styles, from contemporary to traditional, enhancing the overall aesthetic of the living room. The rich, lustrous surface of leather not only exudes luxury but also offers a timeless quality that can withstand changing trends, making it a wise investment for any homeowner.
Versatile Design Options
Available in a plethora of colours and finishes, leather corner sofas can cater to diverse tastes and preferences. Whether one prefers a sleek black sofa for a modern look or a warm brown for a more rustic feel, there is a leather option to suit every décor. Furthermore, the variety of styles—ranging from minimalist designs to more ornate pieces—ensures that there is a leather corner sofa to complement any living space. Additionally, many manufacturers now offer customisation options, allowing customers to choose specific features such as stitching patterns, leg styles, and even the type of leather, ensuring that each piece is uniquely tailored to the owner’s vision.
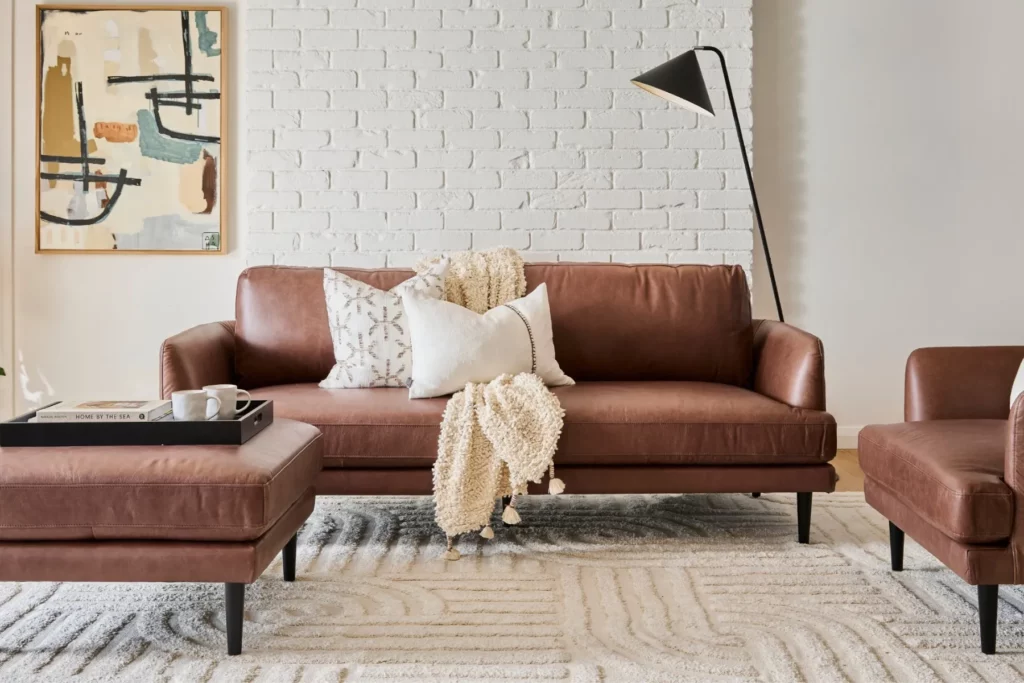
Creating a Focal Point
A leather corner sofa can serve as a stunning focal point in a living room. Its bold presence can anchor the space, providing an inviting area for relaxation and socialising. The luxurious texture of leather adds a tactile element that enhances the overall sensory experience of the room, making it a welcoming environment for both residents and guests. Moreover, the adaptability of leather means it can be paired with various accessories—such as plush cushions, throws, or even a stylish coffee table—to create a cohesive and inviting atmosphere. The interplay of textures and colours can further elevate the room’s design, making the leather corner sofa not just a piece of furniture, but a statement of personal style and comfort.
Read more at: Leather Sofas in Sydney Discover the Best Deals and Designs
Comfort and Functionality
In addition to their aesthetic qualities, leather corner sofas offer unparalleled comfort and functionality. The design of corner sofas allows for efficient use of space, making them an excellent choice for both small and large living rooms.
Ample Seating Space
Leather corner sofas typically provide ample seating space, accommodating families and guests with ease. The L-shape design allows for more people to sit comfortably without feeling cramped, making it perfect for entertaining or family gatherings. This spaciousness ensures that everyone can enjoy the comfort of the sofa while fostering a sense of togetherness. To read more about comfort click here.
Ergonomic Design
Many leather corner sofas are designed with ergonomics in mind, providing support for the back and promoting good posture. The combination of plush cushioning and supportive structure ensures that users can relax for extended periods without discomfort. This emphasis on comfort makes leather corner sofas an ideal choice for those who enjoy lounging, watching movies, or simply unwinding after a long day.
Easy Maintenance
Maintaining a leather corner sofa is relatively straightforward compared to its fabric counterparts. While regular cleaning is essential to preserve its appearance, the process is uncomplicated and can be done with minimal effort.
Simple Cleaning Routine
To keep a leather sofa looking its best, a simple cleaning routine can be established. Regular dusting and wiping with a damp cloth can prevent the buildup of dirt and grime. For deeper cleaning, specialised leather cleaners can be used, ensuring that the material remains supple and free from damage.
Protective Treatments
Applying a leather conditioner periodically can help maintain the sofa’s texture and prevent cracking. These treatments are readily available and can enhance the longevity of the sofa, making it an even more worthwhile investment. With such straightforward maintenance, leather corner sofas can continue to look stunning for years to come.
Eco-Friendly Choice
In today’s environmentally conscious world, the choice of materials in furniture can significantly impact sustainability. Leather, when sourced responsibly, can be an eco-friendly option compared to synthetic alternatives.
Natural Material
Leather is a natural material derived from animal hides, and when treated correctly, it can be biodegradable. Unlike synthetic materials that may take centuries to decompose, leather can return to the earth without causing long-term harm to the environment. Moreover, many manufacturers are now adopting sustainable practices in sourcing and processing leather, further enhancing its eco-friendly credentials.
Longevity Reduces Waste
Choosing a durable leather corner sofa can also contribute to reducing waste. With its longevity, a leather sofa is less likely to need replacement compared to cheaper, less durable options. This not only saves money in the long run but also lessens the environmental impact associated with the production and disposal of furniture.
Investment Value
Investing in a leather corner sofa can be seen as a long-term financial decision. While the initial cost may be higher than that of fabric sofas, the benefits it offers can outweigh the expense over time.
Resale Value
Leather furniture often retains its value better than fabric alternatives. Should the need arise to sell or upgrade the sofa, a well-maintained leather corner sofa can command a higher resale price. This makes it not just a purchase but an investment that can provide returns in the future.
Timeless Appeal
The timeless nature of leather ensures that it will remain in style regardless of changing trends. This enduring appeal means that a leather corner sofa will not go out of fashion, allowing homeowners to enjoy its beauty for years without the need for frequent updates or replacements.
Conclusion
Whether for family gatherings, entertaining guests, or simply enjoying a quiet evening, a leather corner sofa can provide the perfect setting. With the right care, it can become a cherished piece of furniture that not only meets practical needs but also elevates the overall ambiance of the home.
Ultimately, choosing a leather corner sofa is not just about selecting a piece of furniture; it is about making a statement that reflects personal style and values. As trends come and go, the timeless elegance of leather ensures that this choice remains a classic, providing comfort and beauty for generations to come.